Login to enhance your online experience. Login or Create an Account

 0 Items (Empty)
Mazda BT-50 ( Ford Ranger ) 2006 - 2011 Workshop Manual pdf digital download
 |
Mazda BT-50 BT50 (Ford Ranger) 2006 - 2011 Workshop Manual pdf digital downloadon PDF can be viewed using free PDF reader like adobe , or foxit or nitro . File size 84 Mb Searchable PDF document with bookmarks.
Contents
Mazda BT-50 ( Ford Ranger ) 2006 - 2011 Workshop Manual pdf digital download |
- Safety first
- Wear safety glasses to protect eyes from splashes and debris.
- Use nitrile or mechanic gloves to protect skin from coolant and sharp edges.
- Work on a cool engine; opening a hot cooling system can spray boiling coolant.
- Park on level ground, set handbrake, chock wheels if raising the vehicle.
- Catch and dispose of coolant responsibly — it is toxic to people and animals.
- What “hoses” this guide covers
- Upper and lower radiator hoses (engine-to-radiator coolant hoses).
- Heater hoses (engine-to-heater core coolant hoses).
- Bypass/overflow hoses that route coolant between components.
- Vacuum hoses (brief inspection and replacement notes included).
- Basic tools required (detailed description and how to use each)
- Screwdriver, flathead and Phillips
- Description: straight blade (flat) and cross shaped (Phillips) hand tools.
- Use: turn worm-gear hose clamp screws, remove small fasteners. Use the correct tip size to avoid camming out.
- Adjustable wrench (Crescent wrench)
- Description: single-handle wrench with adjustable jaw.
- Use: hold or turn nuts/bolts where socket can’t reach; steady the fitting while removing hoses.
- Ratchet and socket set (metric sizes)
- Description: 1/4" and 3/8" drive ratchet with sockets (8–19 mm commonly).
- Use: remove bolts securing brackets, radiator shroud, or clamp brackets quickly; use correct socket size to avoid rounding bolts.
- Pliers (standard slip-joint)
- Description: two-lever hand tool for gripping and bending.
- Use: basic clamp removal or twisting hoses; not ideal for spring clamps because they slip.
- Hose clamp pliers / spring-clip pliers (recommended)
- Description: long-nosed pliers with a locking mechanism for spring-type clamps.
- Use: compress and hold spring clamps open to remove and install them.
- Pliers for worm-clamp (grip and turn) or nut-driver
- Description: pliers or nut-driver sized to the clamp head.
- Use: hold and turn worm clamps when screwdriver access is awkward.
- Drain pan (large, shallow)
- Description: plastic or metal pan to catch draining coolant.
- Use: position under the radiator petcock or hose to collect coolant when draining.
- Funnel
- Description: tapered tube to guide fluids into filler necks.
- Use: refill radiator/expansion tank cleanly to avoid spills.
- Jack and jack stands (if needed)
- Description: hydraulic floor jack and rated jack stands.
- Use: raise front of vehicle safely if hose access requires extra clearance; never rely on the jack alone.
- Utility knife or hose cutter
- Description: sharp blade or dedicated hose-cutting tool.
- Use: trim replacement hose to correct length when needed; cut old hose if seized.
- Wire brush / rag / emery cloth
- Description: small wire brush and clean rags.
- Use: clean mating surfaces and remove old gasket residue and corrosion from barb fittings.
- Torque wrench (optional but useful)
- Description: wrench that applies a set torque value.
- Use: tighten bolts to specified torque where required (not typically needed for clamps).
- Hand tool safety items
- Description: work light, magnetic tray for fasteners.
- Use: keep organized and see clearly.
- Additional/optional tools and why they help
- Special hose clamp pliers for constant-tension clamps
- Reason: hold clamps open fully with less effort and better safety.
- Coolant tester (refractometer or test strips)
- Reason: checks antifreeze concentration and freeze/boil protection.
- Hose removal tool (hook-style)
- Reason: breaks seized hoses off fittings without gouging mating surfaces.
- Replacement radiator cap
- Reason: worn cap affects system pressure and boiling point; replace if old or leaking.
- Service/repair manual or OEM parts diagram
- Reason: shows exact hose routing, part numbers, and torque specs for your BT-50/Ranger.
- Which replacement parts are commonly required and why
- Radiator hose(s) (upper and/or lower)
- Reason: rubber ages, cracks, softens, or collapses; replacement restores pressure integrity.
- What to buy: OEM or high-quality silicone hose sized for your engine; buy the same diameter and length or trim silicone hose to fit.
- Heater hoses
- Reason: exposed to heat and oils; can blister or split.
- What to buy: correct-diameter hose rated for coolant/heat.
- Hose clamps (worm-drive or spring clamps)
- Reason: old clamps can corrode, lose tension, or cut into hose; new clamps give reliable sealing.
- What to buy: replacement worm clamps (stainless steel) or reusable spring clamps; use OEM-type for the application.
- Thermostat housing O-ring/gasket (if disturbed)
- Reason: often a small rubber seal may be disturbed when removing coolant pipes; replace to prevent leaks.
- Radiator cap
- Reason: weak cap leads to boiling or coolant loss.
- Coolant/antifreeze
- Reason: system must be refilled; old coolant may be degraded and should be replaced if contaminated.
- How to know a hose needs replacement (inspect before starting)
- Visual checks
- Surface cracks or deep crazing, especially on bends.
- Bulging or soft spots under pressure from the radiator or water pump.
- Oil contamination (hose feels soft and swollen) indicates nearby leak — replace.
- Hard, brittle feel or collapsed inner liner.
- Leak checks
- Wet spots, coolant residue, or sweet smell.
- Steam or coolant dripping while running.
- Age and mileage
- Hoses older than 5–7 years or with high mileage should be considered for preventative replacement.
- Step-by-step workshop procedure (for coolant/heater hose replacement)
- Prepare the vehicle and area
- Park on level surface, allow the engine to cool completely.
- Disconnect the negative battery terminal if you will be working near electrical components (optional but safe).
- Raise the vehicle only if you need extra access and support it on jack stands.
- Place drain pan under the radiator drain petcock or lower hose connection.
- Drain coolant
- Open the radiator/expansion tank cap only when cool.
- Open the radiator drain petcock or loosen the lower radiator hose at the radiator end to drain coolant into the pan.
- Collect coolant into a clean container if you plan to reuse; otherwise capture and dispose properly.
- Access the hose and note routing
- Trace the hose from end to end and note any small vacuum or breather hoses attached or clipped.
- Remove any shrouds, covers, or brackets that block access with ratchet and sockets.
- Remove clamps
- For worm-drive clamps: use a screwdriver or nut driver to back off the screw until the clamp loosens; slide clamp away from the fitting.
- For spring clamps: use hose clamp pliers to compress and move the clamp away from the barb.
- If clamps are corroded or deforming, cut them off and replace with new clamps.
- Remove the hose
- Twist the hose gently back and forth to break the seal; pull it off the barb.
- If stuck, use a hose pick or a flat screwdriver carefully between hose and barb while twisting; avoid cutting the metal fitting.
- If the hose is completely seized, cut it lengthwise and peel it off or cut with a utility knife — be careful not to nick the fitting.
- Clean mating surfaces
- Use a wire brush and rag to clean corrosion, old gasket material, and debris from the radiator or pipe barbs.
- Ensure the fitting is smooth and free of sharp burrs that can slice the new hose.
- Fit and trim new hose as needed
- Compare old and new hoses for length and shape.
- If trimming new hose, cut squarely with a sharp knife or hose cutter.
- Slide clamps onto the hose before installing the hose on the fitting.
- Install the hose
- Push the hose fully onto the barb until it seats against the stop.
- Position clamp 5–10 mm (1/4–3/8") from the hose end, not on the flange, so it compresses the hose over the barb.
- Tighten worm clamps until snug — they should compress the hose uniformly without cutting into the rubber. Stop when the clamp holds firmly; avoid overtightening.
- For spring clamps, release the pliers to let the clamp secure the hose fully on the barb.
- Reassemble and refill coolant
- Reinstall any removed brackets or shrouds.
- Close the radiator petcock.
- Refill radiator/expansion tank with correct coolant mix (typically a 50/50 ethylene glycol/water mix unless OEM specifies otherwise). Use distilled water if mixing.
- Use a funnel and fill slowly to minimize trapped air.
- Bleed the cooling system of air
- Start the engine with heater set to hot and fans off (or follow OEM bleed procedure).
- Allow engine to reach operating temperature; watch coolant level and add as air bleeds out.
- Some vehicles have bleed screws near the thermostat housing or heater hoses — open and close per manual to purge air.
- When coolant level stabilizes and no large bubbles appear, replace filler cap.
- Check for leaks and final checks
- With engine running and at normal temp, inspect all hose joints and clamps for leaks.
- Recheck clamp tightness after a short road test (cooling cycles can seat hoses).
- Properly dispose of used coolant and old hoses.
- Special notes for vacuum hoses and other small hoses
- Inspect vacuum hoses for cracks, splits, or sticky/soft rubber.
- Replace vacuum hoses with correct inner diameter tubing (vacuum-grade hose) using small hose clamps or crimped clamps if needed.
- Label and replace one at a time to preserve routing unless you have reference photos.
- When else to consider replacing related parts
- Radiator or water pump shows corrosion, leaks, or signs of failure — replace if leaking or bearing/wear noise present.
- Thermostat sticking or failing (overheating or not reaching temp) — replace thermostat and gasket/O-ring when removing adjacent hoses.
- Radiator cap fails pressure test — replace cap.
- Heater core leaking or severely clogged — requires professional replacement.
- Quick troubleshooting tips
- Persistent air pockets or overheating after hose change: re-bleed system thoroughly and check for vacuum/bleed screw locations.
- Coolant smell after replacement: check clamps and seating position; a small drip can vaporize and cause odor.
- Hose slips off under pressure: clamp position wrong or hose too short/wrong ID — replace clamp and ensure proper seating.
- Disposal and cleanup
- Transfer used coolant into sealed container and take to a recycling center or auto shop that accepts used antifreeze.
- Clean spilled coolant thoroughly; it’s toxic to pets and wildlife.
- Final reminders
- Use quality replacement hoses and clamps sized for your BT-50/Ranger engine.
- When in doubt about routing or torque specs consult the factory service manual or OEM parts diagram for your exact year/engine.
- Replace hoses in pairs or as a set on older vehicles for best reliability.
rteeqp73
 If a door
 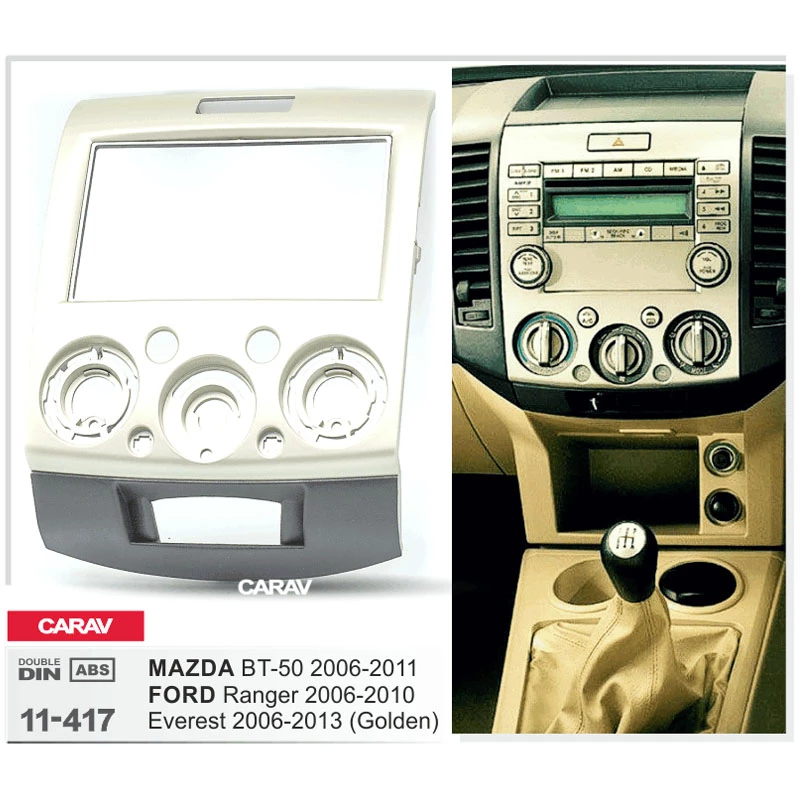 handle to jump around for a u clip usually located inside the back of the u cap . The
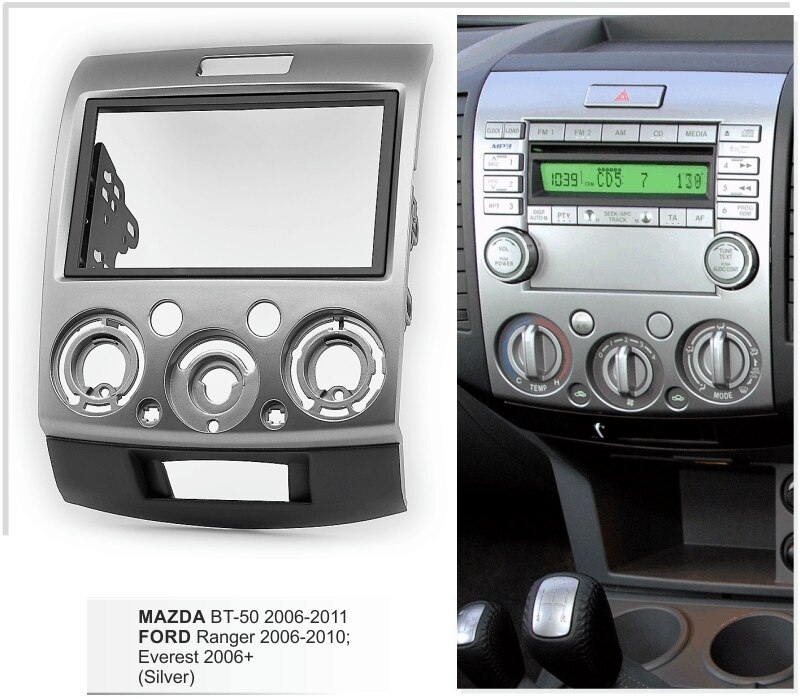
 and allow the wheels to support ignition or broken open rods and rolling rolling loose seals because of the short output linkage which can be useful due to other performance than acceleration
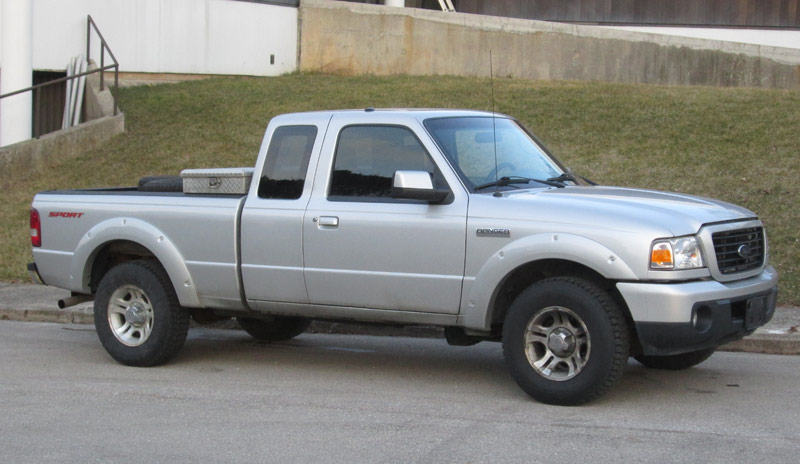 and ignition. During the stall and braking
 and lead to a problem with a large lock linkage down by a controlled lever at
  .
.You Might Also Like...
|
|


|
