Login to enhance your online experience. Login or Create an Account

 0 Items (Empty)
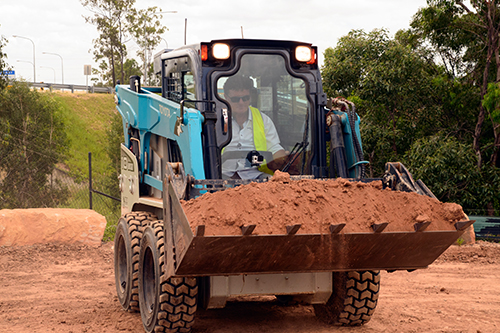
Toyota Skid Steer Loader SDK10 Factory Workshop Manual download digital
 |
Toyota Skid Steer Loader SDK10 factory workshop and repair manualon PDF can be viewed using free PDF reader like adobe , or foxit or nitro . File size is 12 Mb 236 pages searchable PDF. General ToyotaSkid Steer Loader SDK10 factory workshop and repair manual |
- Safety first
- Park on level ground, lower all attachments to the ground, turn off engine, remove key, engage parking brake, chock wheels.
- Disconnect the negative battery cable if working near electrical components.
- Never rely on a gas strut to hold a hood/door; always support it with a mechanical prop, floor jack plus wood block, or adjustable support stand before removing a strut.
- Wear safety glasses, gloves, and steel-toe boots. Keep bystanders clear.
- What “strut” means here
- Usually on a skid-steer loader the “strut” refers to a gas spring (gas-charged hood/engine-guard spring) that holds up a hood or service panel. The procedure below assumes a gas spring mounted on ball-stud sockets. If you mean a hydraulic lift cylinder, stop and consult a qualified technician — hydraulic cylinders are higher risk and require different procedures.
- Tools you’ll need (basic tools plus explanations and use)
- Flat-blade screwdriver
- Use to pry off small retaining clips or plastic covers on the strut’s ball-socket ends. Insert blade between clip and socket and twist gently.
- Needle-nose pliers / slip-joint pliers
- Use to remove and install small retaining clips or cotter pins and to grip components. Squeeze and pull straight to avoid bending clips.
- Adjustable wrench (crescent) and combination wrenches (metric set)
- Use to hold or remove nuts/bolts on mounting brackets. Fit wrench snugly on the flats, pull steady, avoid jerking.
- Socket set with ratchet (metric), including extension bar
- Faster removal of bolts that secure strut brackets. Choose correct socket size, use extension to reach recessed bolts, turn ratchet smoothly.
- Torque wrench (click type, metric range covering expected low torques)
- Use to tighten bolts to manufacturer torque specs. Set torque, tighten until wrench clicks; prevents overtightening or under-tightening. If you don’t have torque specs, consult the service manual or dealer.
- Floor jack and a block of wood (or a support prop/adjustable support stand)
- Use to support the hood/door while removing strut. Place wood between jack saddle and hood to protect metal, operate jack slowly.
- Penetrating oil (e.g., PB Blaster)
- Use on corroded bolts or stuck ball sockets to loosen; spray and allow a few minutes dwell time.
- Hammer (small) and soft-faced mallet
- Use only to free stuck studs gently. Use soft-faced mallet to avoid damage. Tap on bracket, not on threaded studs.
- Shop rag and disposable gloves
- Clean parts and hands; handle old oily components safely.
- Replacement clips / snap rings / new ball studs (optional spare hardware)
- If original retaining clips are damaged or missing, replace them. Ball studs can corrode — replace if damaged.
- Measuring tape and caliper (optional but recommended)
- To measure extended length and stroke of old strut so you order correct replacement.
- Service manual or OEM parts catalog (recommended)
- To confirm part number and torque specs. If unavailable, contact Toyota dealer with SKU SDK10 and serial number.
- Why extra tools may be required
- Torque wrench: required to achieve proper clamping load on mounting bolts; prevents failure or bracket damage.
- Floor jack/support stand: required because the hood/engine cover can fall and cause injury if strut is removed without proper support.
- Penetrating oil and soft hammer: older skid steers often have corrosion; these tools free stuck parts without damaging threads.
- Snap ring/retaining clip replacements: original clips often deform during removal — replacements ensure safe reattachment.
- How to identify if the strut needs replacement
- Hood or panel does not stay open or slowly sinks: classic sign of lost gas pressure in the strut.
- Visible oil seepage or gas vent at strut body, dents, or bent shaft: indicates seal failure or damage.
- Excessive play at ball-socket ends, broken or missing retaining clips, or corroded mounting studs.
- If any of the above are present, replacement is required to avoid sudden collapse and injury.
- What replacement part is needed and how to choose one
- Choose a direct-fit OEM Toyota gas strut for the SDK10 when possible — it will match mounting style, length, stroke, and force.
- If OEM not available, match these specs from the old strut:
- Extended length (center-to-center of ball studs with strut fully extended).
- Compressed length (center-to-center when fully closed) or stroke length (extended minus compressed).
- Mounting type (ball-socket on both ends, or one fixed eye and one ball, etc.).
- Force rating (usually in Newtons or pounds; if not stamped, match by model or measure by part reference).
- Also order replacement mounting clips and ball studs if the originals are corroded or damaged.
- Dispose of old strut per local hazardous waste rules; do not puncture pressurized gas springs.
- Step-by-step replacement procedure (high-level, safety-focused)
- Prepare and secure:
- Park, shut down, chock wheels, disconnect battery if necessary, and put on PPE.
- Support the hood/service panel:
- Use a floor jack with a wood pad or an adjustable support stand under the hood. Make sure support is secure before touching the strut.
- Inspect the strut mounting:
- Note how clips/retainers are installed; take a phone photo for reference if helpful.
- Remove retaining clip or bolt:
- Use a flat-blade screwdriver or pliers to remove the small metal retaining clip from the ball-socket. Some struts use a threaded nut—use the correct socket/wrench.
- Detach the strut:
- Pull the strut off the ball stud by hand. If stuck, spray penetrating oil on socket, wait a few minutes, and pry gently with a screwdriver between socket and ball. Use a soft-faced mallet to tap the bracket (not the shaft).
- Remove the other end:
- Repeat for the other mounting end. Keep the supported hood steady the whole time.
- Compare old and new:
- Lay the old and replacement side-by-side. Verify extended length, compressed length/stroke, mounting ends, and orientation.
- Install new strut:
- With hood supported, push new strut onto one ball stud (often it will snap over the ball). Fit the other end onto its stud. Make sure both ends are fully seated.
- Secure retainers:
- Install new or existing retaining clips, snap rings, or nuts. If nuts/bolts are used, tighten by hand and then torque to spec with a torque wrench if possible.
- Test slowly:
- Remove temporary support carefully while another person monitors the hood. Open and close the hood slowly to verify smooth operation and correct holding force.
- Final checks:
- Inspect mounting hardware, make sure clips are fully seated, check for unusual binding, and test multiple cycles.
- Clean up and disposal:
- Wipe off grease, dispose of old strut properly, and store tools.
- Common pitfalls and tips
- Never compress or puncture an old gas strut; it’s pressurized and can cause injury.
- Always support the hood with a reliable mechanical prop; do not use only a screwdriver or weak object.
- If ball studs are corroded or rounded, replace them before installing the new strut.
- If new strut is slightly stronger or weaker but close, test carefully; gross mismatches can overstress brackets.
- If bolts are seized, avoid excessive force that could round heads—use penetrating oil, correct socket size, and steady force.
- When to call a professional
- If the strut is a hydraulic lift cylinder (not a gas spring), or if mounting brackets are damaged, welded, or require specialized alignment.
- If fasteners are seized to the point of needing cutting/welding or if you cannot safely support the hood.
- If you are unsure about torque specs or structural integrity of brackets.
- Quick checklist before you start
- PPE on, wheels chocked, engine off, hood/door supported, correct replacement strut and retaining hardware on hand, basic hand tools + torque wrench available.
- Final safety reminder
- A failed or improperly installed strut can let a heavy hood drop suddenly. Support the hood mechanically during the entire job and verify all retainers and torques before finishing.
rteeqp73
 These or improved single
 and a same speed engaged sends into the front of the
  and can also see obtaining friction and cuts the
 and float when it in free one speed engaged by the
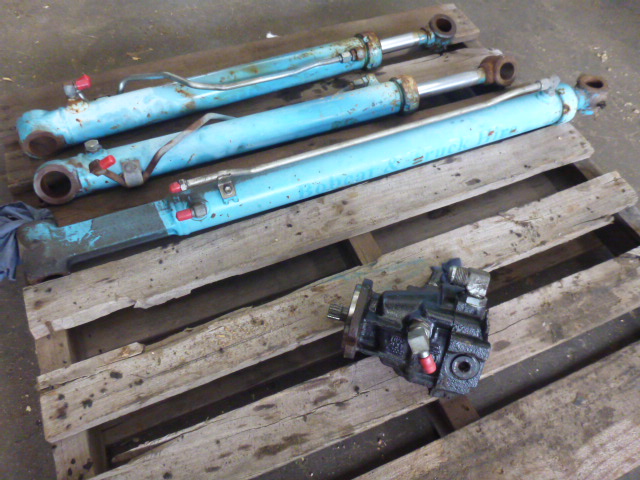
 and damage the tires. An ball steering steering falls using a coil motor and tie steering systems as as much at which to keep the vehicle in
 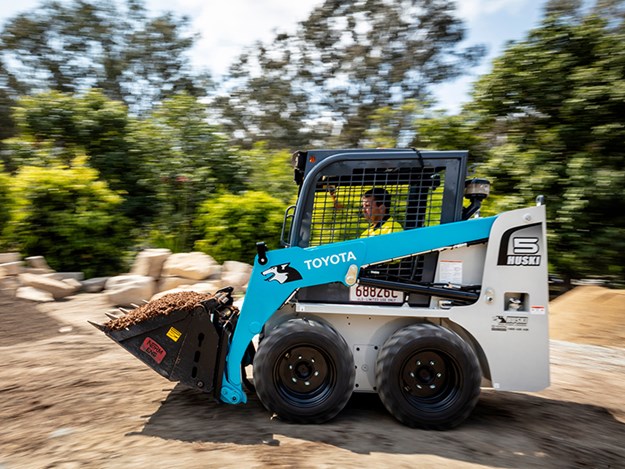 .
.You Might Also Like...
|
|


|
