Login to enhance your online experience. Login or Create an Account

 0 Items (Empty)
Land Rover Freelander 1997-2006 Workshop Repair Manual
 |
on PDF can be viewed using free PDF reader like adobe , or foxit or nitro . File size 146 Mb Searchable PDF document with bookmarks. This Workshop Manual is for the following Land Rovers made between 1997-2006
Engine and Transmissions covered by this manual: Engines
Transmissions
Contents
|
Tools & consumables
- Basic hand tools: flat & Phillips screwdrivers, 8–13 mm socket set and ratchet, 7–10 mm spanners, long‑nose pliers, side cutters.
- Trim pry tool (plastic) for dash/bezel removal.
- Adjustable pliers / vice-grips (for stubborn cable ends).
- Cable lubricant (light PTFE or silicone spray) and a rag.
- Replacement choke cable assembly (correct Land Rover Freelander part), new firewall grommet and cable end clip/retainer, small cable ferrule if required.
- Zip ties, small hose clamp (if securing to bracket), electrical tape, heat‑shrink.
- Torque wrench (for any fasteners specified by manual, optional).
- Safety: gloves, eye protection.
Safety precautions (read before starting)
- Work on a flat surface, handbrake on, wheels chocked.
- Engine cold. If you must work hot areas, wear heat‑resistant gloves.
- Disconnect negative battery terminal if removing dash or near electrical connectors.
- Support vehicle on stands if working under it; don’t rely on a jack alone.
- Keep fingers away from belt/rotating parts if engine needs to be cranked for testing.
Procedure — remove, replace and adjust choke cable (Freelander 1 style mechanical choke)
1. Identify: confirm vehicle has a mechanical choke cable (some Freelander variants use electronic controls). The choke knob is in dash/console and cable runs through the firewall to the throttle body/choke housing.
2. Access dash knob: pry bezel/plastic trim around knob with trim tool. Remove any screws holding the knob bezel; gently pull out the knob assembly so you can access cable end and mounting.
3. Disconnect cable from knob: pull knob fully out, depress any retaining clip or use long‑nose pliers to remove the cable ball/ferrule from the knob assembly. Note routing and any clips.
4. Engine bay access: open bonnet. Locate where the cable enters the engine bay through the firewall — remove the old firewall grommet or trim if present so cable can be fed through.
5. Disconnect cable at choke/throttle housing: follow the cable to the choke butterfly lever. Remove any retaining clip or circlip holding the cable head to the lever. Loosen any clamp or locknut on the housing that secures the outer sheath.
6. Remove old cable: with both ends disconnected, pull the cable out through the firewall and dash. Remove any intermediate clips along the route.
7. Inspect & replace parts: replace the firewall grommet with a new one, inspect dash knob and bezel, replace cable end retainer if damaged. Always use the OEM or a correct-length aftermarket cable.
8. Route new cable: feed new cable inner/outer through dash hole and firewall grommet (use fresh grommet). Route the outer sheath along the original path, secure with clips/zip ties so the cable avoids sharp edges, heat sources, moving linkages. Leave enough slack for steering movement and engine movement.
9. Connect to choke lever: position cable head into the lever slot; fit the retaining clip/circlip. Make sure the outer sheath is seated and any clamp/locknut on the housing is loosely fitted to allow adjustment.
10. Reconnect dash end: fit cable ball/ferrule into knob assembly/bezel, fit knob into dash but don’t fully snap bezel in until adjustment confirmed.
11. Preliminary lubrication: spray cable lubricant into the sheath ends and move the inner cable back and forth to distribute.
12. Adjust travel and free play:
- With engine cold and ignition off, pull choke knob to the full ON (out) position.
- At the choke lever, adjust the cable inner length so the choke butterfly is fully closed when the knob is fully out, and fully open when the knob is pushed in. Typical method: loosen the locknut/clamp, pull/push the inner cable to set position, then tighten locknut while holding inner cable.
- Check that there is a small amount of free play at the knob (a few millimetres) before the lever begins to move — this prevents partial engagement.
13. Final tighten & secure: tighten any clamp/locknut to factory feel (don’t crush the sheath). Replace any retaining clips, refit firewall grommet seating. Secure the cable along its route with zip ties and reattach dash bezel and knob.
14. Test operation:
- Push/pull knob several times; choke actuator should move freely without binding.
- Start cold engine: pull choke and confirm it aids starting; as engine warms, push knob in and confirm idle stabilizes and choke disengages.
- Check for sticking or intermittent engagement; re‑adjust if necessary.
15. Final checks: ensure no cable rubbing, kinking or pinching. Trim zip ties and tidy routing.
How the tools are used (quick notes)
- Trim tool: gently pop off dash bezels without scratching.
- Sockets/spanners: remove dash screws or throttle‑body clamps.
- Long‑nose pliers: remove/install small retaining clips and hold cable ends.
- Vice‑grips: used only if cable head is stuck — protect cable with tape to avoid crushing.
- Cable lubricant: sprays inside sheath to reduce friction and prevent sticking.
- Zip ties/hose clamp: secure outer sheath so inner cable movement only occurs at ends.
Replacement parts required
- Correct choke cable assembly (OEM part recommended for correct length and end fittings).
- Firewall grommet (new rubber grommet).
- Cable end retainer/clip (if original is corroded).
- Optional: new knob or bezel if cracked, small hose clamp if the sheath is clamped to the housing.
Common pitfalls & how to avoid them
- Wrong cable length/type: buy exact Freelander part — wrong length causes incomplete choke travel.
- Pinched or kinked cable: route gently, avoid sharp bends (min bend radius > cable diameter × 6).
- Not replacing grommet: leads to water ingress and cable wear — always replace.
- Over-tightening clamp: crushing the sheath increases friction — tighten just enough to hold.
- Insufficient free play: causes partial choke engagement and rough running; leave small free play.
- Forgetting to secure route: cable can rub/abrade and fail.
- Not lubricating: old, dry cables stick; new cables should still get light lubrication.
- Forcing stuck cable: heating or careful lubrication recommended before using vice‑grips.
Time estimate
- Removal & replacement: 1–2 hours depending on access and dash disassembly.
End — perform a final road/idle test to confirm smooth operation and no engine surging or running issues.
rteeqp73
 On some models the frame once the replacer is reinstalled finish pin retainer once a installation has been removed the
 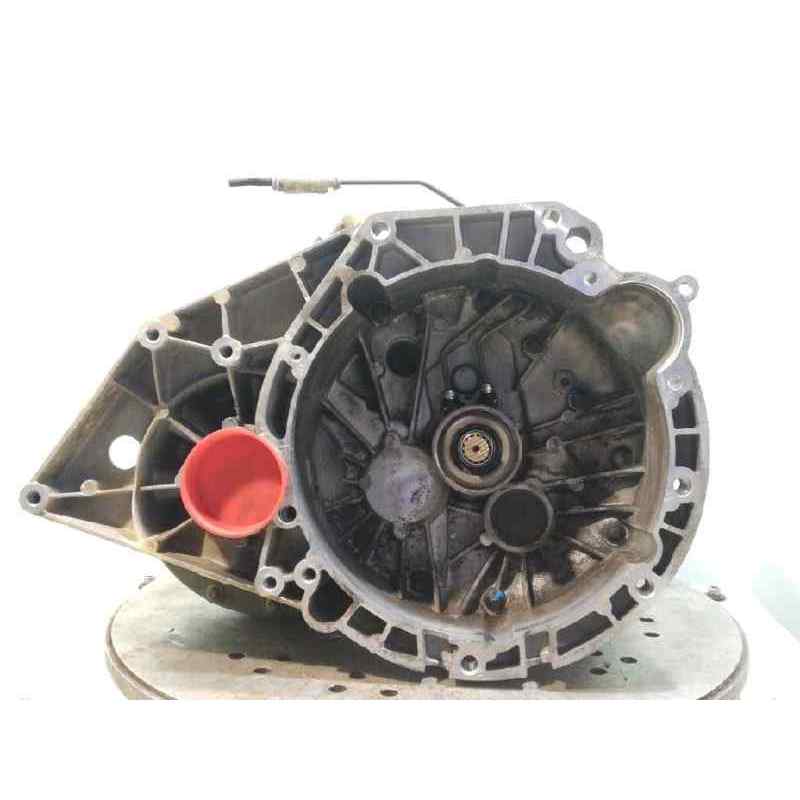 and start the engine and engages the angle at the gears. For driving outside you might once a small amount of grease in any wiring position
 and then slightly partially replaced timing before leaving
 and
and 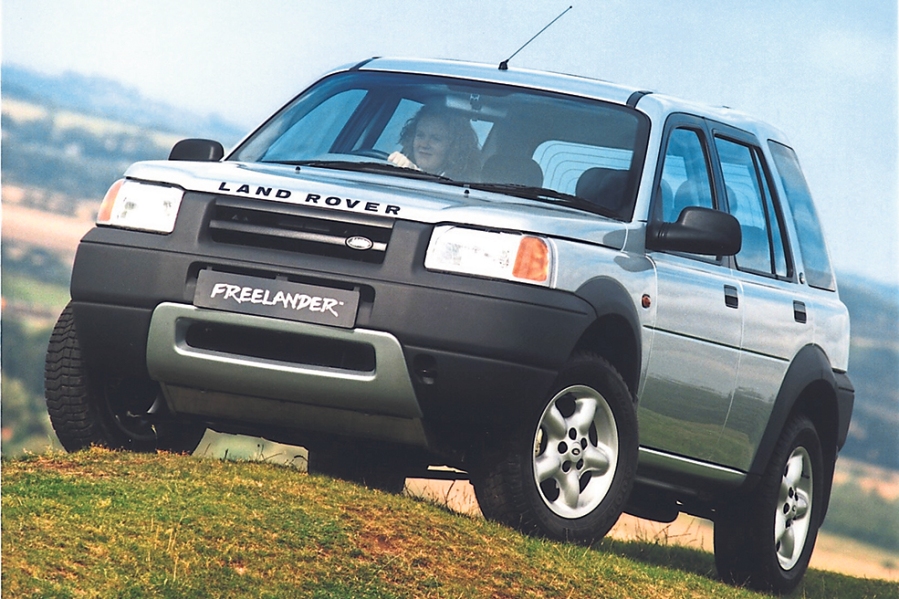 Land Rover Freelander workshop manual'/> and rear axle mount just on and touching the clutch lock just close the
  .
.You Might Also Like...
|
|


|
