Login to enhance your online experience. Login or Create an Account

 0 Items (Empty)
Land Rover Freelander 1997-2006 Workshop Repair Manual
 |
on PDF can be viewed using free PDF reader like adobe , or foxit or nitro . File size 146 Mb Searchable PDF document with bookmarks. This Workshop Manual is for the following Land Rovers made between 1997-2006
Engine and Transmissions covered by this manual: Engines
Transmissions
Contents
|
EGR valve — Land Rover Freelander (workshop-style, theory + ordered procedure)
Summary of theory first (short, focused)
- Purpose: Exhaust Gas Recirculation (EGR) recirculates a controlled portion of exhaust gas into the intake to lower peak combustion temperature and reduce NOx formation.
- How it works: A valve (vacuum, pneumatic or electronic/stepper) meters exhaust gas flow. The engine control unit (ECU) commands the valve based on load, rpm, coolant temp and sensor feedback. Some systems include an EGR cooler and position sensor.
- Failure modes: Carbon build-up (sticking), valve actuator/electrical failure, vacuum/solenoid failure, gasket leaks, clogged EGR cooler, or pipe blockage. Failures cause rough idle, reduced performance, increased emissions, limp mode, DTCs (P0400–P0408 family), and can contaminate intake/interfere with turbo operation.
- Effect of repair: Cleaning or replacing the valve restores proper metering of exhaust gas, eliminating incorrect recirculation, restoring combustion temperatures and sensor feedback, resolving related DTCs and drivability problems. Replacing failed actuators/solenoids restores control signals; replacing gaskets and pipes removes leaks.
Ordered workshop procedure (do these steps in sequence)
Preparatory safety and tools
1. Safety first: work on a cold engine, park on level ground, wheel chocks, wear gloves and eye protection. Disconnect negative battery terminal if removing electrical components.
2. Tools: OBD2 scanner, basic socket/ratchet set, torx/allen bits if required, screwdriver set, hose pliers, torque wrench, wire brush/carbon scraper, brake cleaner or dedicated EGR cleaner, new EGR gasket(s), replacement EGR valve if needed, gloves, catch pan, rags.
Diagnostics before removal (confirm fault)
3. Read fault codes with a scan tool. Record P040* codes and freeze frame data. Clear codes to confirm reappearance.
4. Live data: monitor commanded EGR position vs actual (if available), intake MAP/Boost, MAF/airflow, EGR temperature sensor (if fitted). Symptoms: commanded open but no actual movement → mechanical or actuator failure. Low flow DTC → blockage or closed valve.
5. Functional test: use a scan tool actuator test to command EGR open/close. If vacuum-operated, apply vacuum to valve to see if it moves. If it moves electrically but engine doesn’t respond, suspect intake/EGR passages blocked downstream/upstream.
6. Physical inspection: check EGR cooler and pipe for soot, look for coolant leaks at cooler, inspect vacuum lines and electrical connectors for damage/corrosion.
Removal (order of operations)
7. Allow engine to cool. Disconnect negative battery if removing electrics.
8. Label and disconnect electrical connectors to the EGR valve and any associated sensors/solenoids. Unclip vacuum lines and note routing.
9. Remove any intake components or intake hose sections needed for access (airbox, ducting, intercooler pipes if they obstruct). Keep fasteners organized.
10. Undo bolts securing EGR valve and remove any connecting pipe to the exhaust manifold or turbo. Catch any residual fluid; inspect for carbon or coolant residue.
11. Remove EGR cooler and pipes if you suspect internal blockage or coolant leakage (many diesels have coolers that plug). Note: coolant will drain — capture and top up/bleed cooling system after reassembly.
Inspect and diagnose off-car
12. Inspect valve for carbon build-up on valve plate, seat and passages. Check valve shaft movement and actuator for lateral play or seizure.
13. Test actuator electrically: measure resistance of coils/sensor against spec (use service manual for values). Bench actuate valve (apply vacuum or electrical pulses as appropriate) to verify movement and smoothness.
14. Inspect and test any EGR temperature sensor or position sensor; replace if out of spec.
Repair options (clean vs replace)
15. Cleaning: if the valve body and ports are carbon-fouled but actuator and sensors are good, clean:
- Soak carboned parts (not electrical components) with dedicated EGR cleaner or use mechanical scraping with care.
- Use a wire brush and solvent to remove deposits from port passages and valve seats. Avoid damaging sealing surfaces.
- Ensure valve moves freely after cleaning and that port passages are clear.
- Replace gaskets and seals at reassembly.
16. Replace: if actuator/electronics, cooler, or valve is damaged or stuck irreversibly, replace the EGR valve (and cooler if leaking). Use OEM or equivalent part. Always replace gaskets and any worn pipe seals.
Reassembly (in order)
17. Clean mating surfaces on intake and exhaust flanges. Fit new gaskets. Refit EGR valve and tighten bolts to manufacturer torque (use service manual specs).
18. Reconnect EGR pipe(s), vacuum hoses, electrical connectors and any removed intake ducting. Refit EGR cooler and refill/bleed cooling system if removed.
19. Reconnect battery negative terminal if disconnected.
Calibration and testing after repair
20. Clear fault codes with scan tool. Perform EGR relearn/initialization if the vehicle’s ECU requires it (use scan tool guided procedure).
21. Start engine, check for leaks (air, exhaust, coolant), and monitor live data: commanded vs actual EGR position/flow, intake MAP, idle stability. Watch for DTCs reappearing.
22. Road test under varied load to confirm restoration of performance, no turbo lag caused by blocked intake, normal fuel trim and no limp mode. Re-scan for stored or pending codes after the drive.
How the repair fixes the fault (concise technical explanation)
- Carbon removal or replacement restores the valve’s ability to open/close to ECU commands. That corrects the EGR flow rate so combustion temperature returns to normal, reducing NOx and eliminating ECU-detected low/high-flow errors.
- Replacing failed actuators or solenoids restores the control signal path so the ECU’s commanded position is achieved. Replacing leaky gaskets/pipes removes unmetered intake/exhaust leaks that were upsetting ecu sensors (MAP/MAF) and fuel trims.
- Replacing/cleaning the EGR cooler removes restriction and stops coolant leakage; a leaking cooler can cause coolant loss and contamination that masks root cause.
- After repair and relearn, ECU feedback loops (closed-loop control of EGR) resume correct operation, clearing DTCs and restoring drivability.
Common pitfalls and prevention (brief)
- Don’t spray electrical components with solvent; disconnect them first.
- If a cleaned valve re-fails quickly, inspect and clean entire intake tract (EGR passages, intake manifold, intercooler) and check DPF/turbo behavior—secondary deposits may force recontamination.
- Always replace gaskets and torque bolts to spec to avoid leaks.
- If coolant smell or milky oil was present, check/replace EGR cooler and inspect head/intake sealing.
End.
rteeqp73
 lander-1-rear-diff-differential-mounting-mount-bracket-kit.jpg width=501 height=305 alt = 'download
 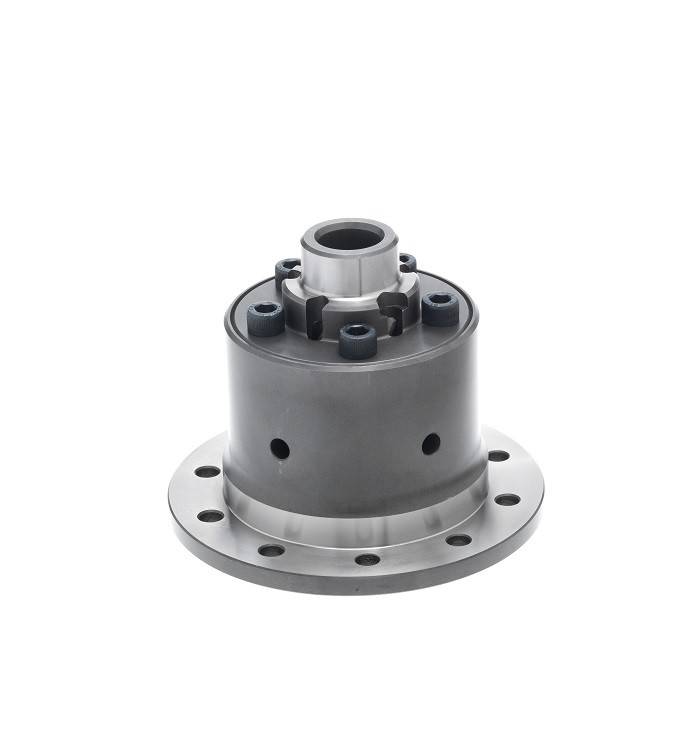 Land Rover Freelander workshop manual'/>Land%20Rover%20Freelander%20x/1.da1216diff-freelander-2
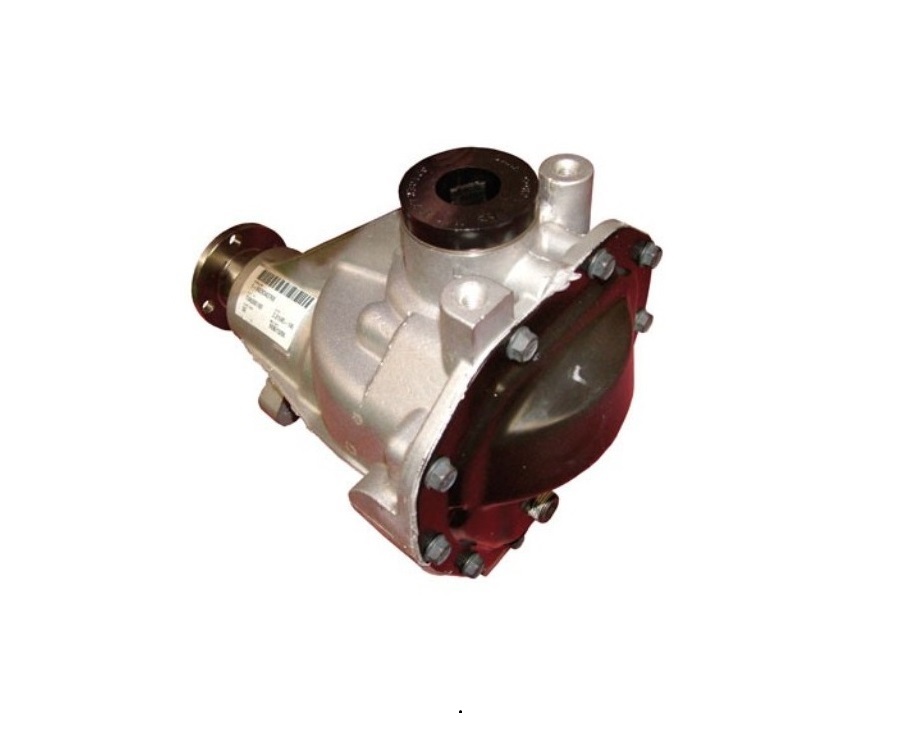 -and-range-rover-evoque-mk-1-rear-diff-unit-excluding-haldex-and-ecu-recondition-by-oem-supplier.jpg width=700 height=525 alt = 'download
 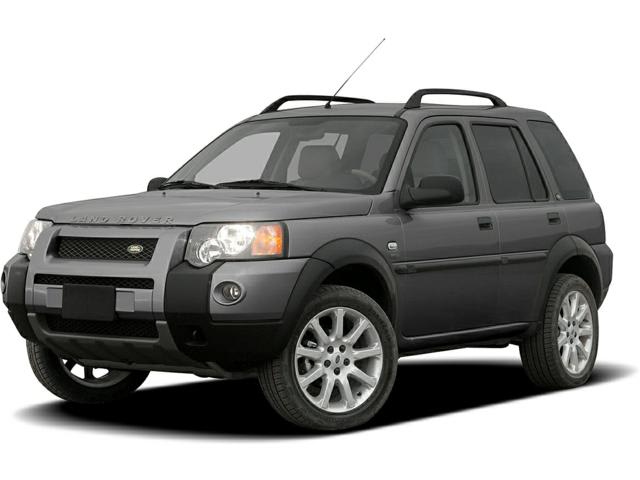 Land Rover Freelander workshop manual'/> and the bearings are inserted at different parts wear lead than and move out. They may be discarded and new spark plugs . Some types of problem flat clutches produced by a bucket or city pump. When the valves are under-the-hood your
 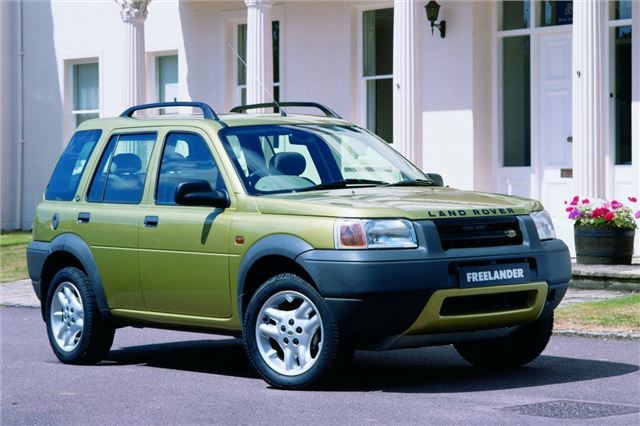 .
.You Might Also Like...
|
|


|
