
 0 Items (Empty)
Nissan Frontier Navara Terrano Hardbody D22 1997-2004 factory workshop and repair manual download
 |
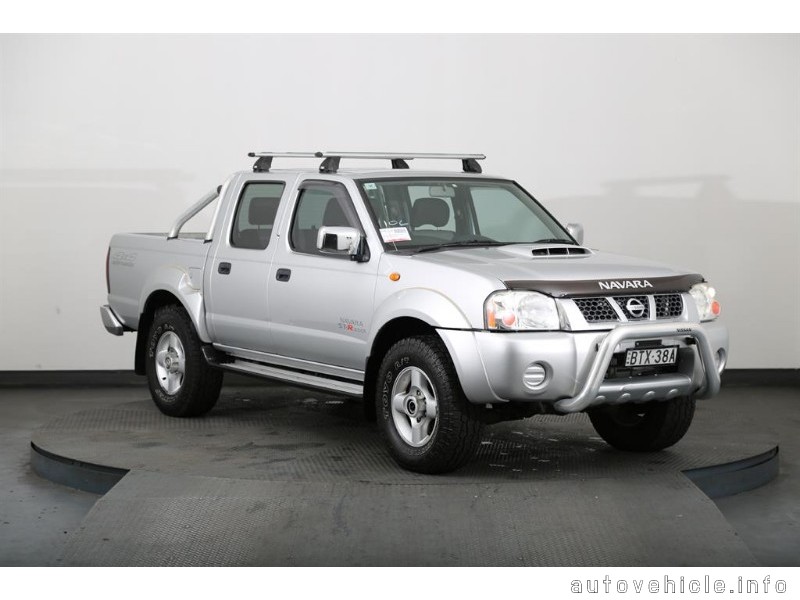
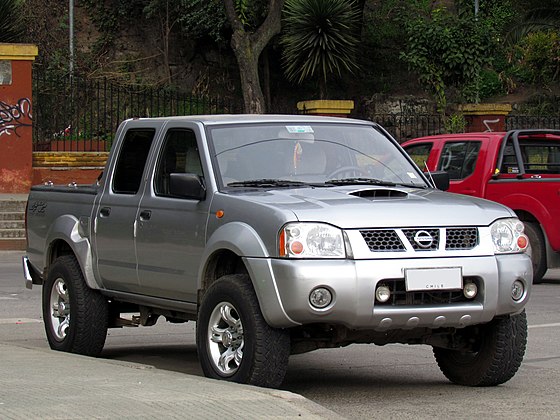
Nissan Frontier Navara Terrano Hardbody D22 ute/truck engine factory workshop and repair manual 1997-2004on PDF can be viewed using free PDF reader like adobe , or foxit or nitro . It is compressed as a zip file which you can extract with 7zip File size 122 Mb PDF document with bookmarks. Covers the Nissan Frontier Navara Terrano Hardbody D22 General Information covers the engines QD32 , KA24DE, VG30E, YD25DDTi, ZD30DDT, KA24E, VG33E, About the Nissan Navara D22
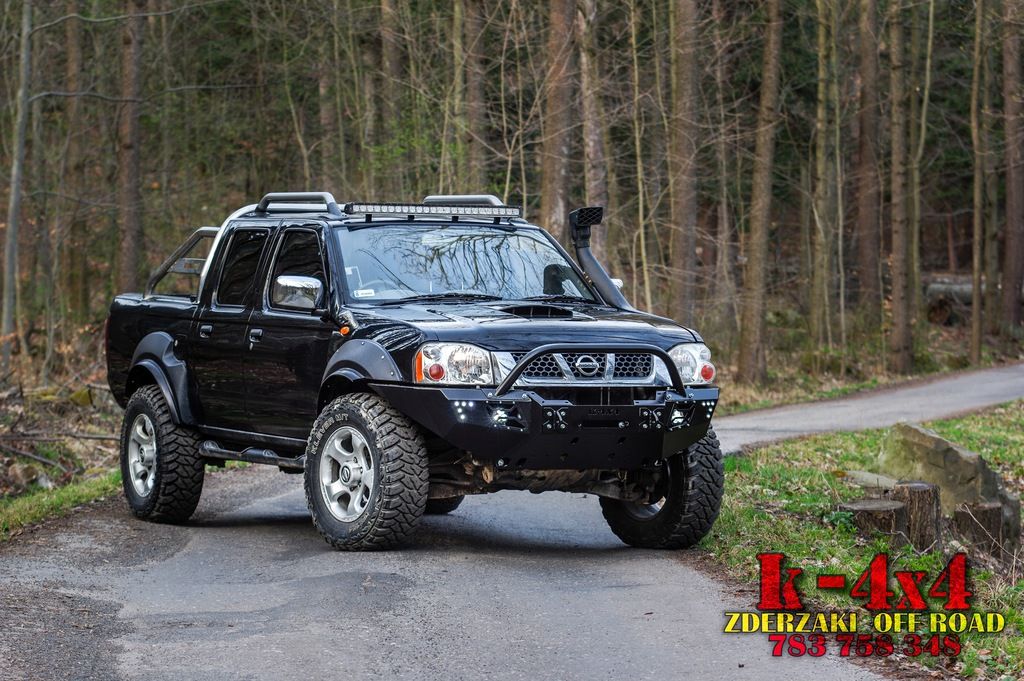
Nissan Navara is the name for the D22 and D40 generations of Nissan pickup trucks sold in Asia while in the North, Central and South America and the Philippines it's sold as Nissan Frontier. The line was started in 1998, and its immediate predecessor is the D21 Nissan Hardbody truck. As of 2002, the D22 series Nissan Truck is no longer sold in Japan, with the primary market having been relocated to North America. It is now built at the Smyrna, Tennessee Nissan factory.Nissan was the pioneer of the "Hardbody" or "Nissan Frontier" since 1986. The first was the D21, considered to be a small pick up. After more than 10 many years with the D21, the second generation Navara was manufactured from 1998 and went until 2005 which was classed as a compact sized pick up. It was changed with the bigger, taller, longer D40, which Nissan now considers to be a mid-size choose up truck.The Navara gets its name from the Navarre region of northern Spain, and the European variation is built at the Nissan factory in Barcelona.The Frontier was introduced in 1997 for the 1998 model year as a replacement for the aging 1986.5–1997 Nissan Hardbody Truck. Nissan first offered the Frontier with a 4-cylinder engine, the KA24DE, but added the V6 engine, the VG33E in 1999. Somewhere else, the Frontier was also known as the Nissan Navara.That changed, with the introduction of the 2000 Frontier Crew Cab. Chevrolet produced 4 door variations of its S-10 pickup in the late 90's, and Nissan began making its own 4 door version of the compact truck in 2000.For 2001, Nissan facelifted the Frontier, introducing bolder styling in an effort to make it more appealing to younger buyers in its second generation. The Frontier was completely redone after the 2004 model year, which later resulted in the suspension of the regular cab model, indefinitely. D22 (GEN-1) Names Datsun Japan, Frontier USA, Canada, Philippines, Argentina, Mexico and Brazil, Fiera Bolivia,Terrano Chile,Pick Up Europe, Central and South America, Africa, Asia ,Hardbody (codename J24) South Africa, Navara Europe and Australasia, Winner Middle East (Crew Cab only), Didsun or Datsun Persian Gulf countries, NP300 Frontier; Mexico in Mexico is a luxury trim of the NP300. Built in Japan from 1997 to 2000. Versions: solitary cab, King Cab, Crew Cab (Introduced in 2000 and only available on 2000-current models). Motors: Petrol (KA24DE) and Diesel (TD27) (4wd and 2wd) with 5 speed manual transmission. These models were additionally exported to Central and South America. US production in Tennessee started in 1998 with a solitary cab and a King cab. A Crew Cab arrived in 2000.In 2000, a special edition had been offered. Nissan called it the Desert Runner. It had a king cab base but on the 4X4 frame which gave it a boost in ride height, bigger tires and a 4-speed 2WD drivetrain. In 2001 the Desert Runner got a new look and a supercharged version of the V6 engine.Engines: 143 hp (107 kW) 2.4-liter (KA24DE) I4 and 170 hp (127 kW) 3.3-liter (VG33E) V6, Manual, 2wd or 4wd and Automatic. Japanese Production exported to South, Central America.The D22 Navara was a compact size pick up truck manufactured from 1997 to 2004. Nevertheless, Nissan goes on to build the D22 as a cheaper alternative to the current D40, and is understood as "Pickup". The first D22 Navaras (from 1997 to 2000) have actually a slightly different cosmetic appearance to the more recent designs (2001–2004). The first series of D22s had larger (QD32) 3.2-litre normally aspirated Diesel engines producing 75 kW. The second series has 4 available motor types. They were as follows:KA24DE: DOHC, 2.4-litre, 16V, 4-cylinder, producing 110 kW (148 hp) @ 5600 rpm and 208 NÃÃm (153 lbÃÃft) @ 3600 rpm. YD25DDTi (133 PS): 2.5-litre, DOHC, 16V, 4-cylinder, Turbo diesel intercooler, creating 98 kW (133 PS; 131 hp) @ 4000 rpm and 304 NÃÃm (31 kgÃÃm; 224 lbÃÃft) @ 2000 rpm. ZD30DDT: 3.0-litre, DOHC, 16V, Turbo, 4-cylinder diesel (non intercooler), producing 110 kW (148 hp) @ 3400 rpm and 314 NÃÃm (232 lbÃÃft) @ 2000 rpm. 6-cylinder, SOHC, 3.3-litre, 12V, producing 125 kW (168 hp) @ 4800 rpm and 266 NÃÃm (196 lbÃÃft) @ 2800 rpm. Currently the D22 Navara series remains on Nissan lineup for many nations and is known as Nissan NP300, Pickup, Frontier and Navara D22. In 2009 the D22 was updated with redesigned exterior door handles.The first Gen Frontier (2001–2004) was not sold in Japan. It was only produced in Japan for export. Product sales and production started in North America, with Crew Cab and King Cab versions and new bumper, taillights, headlights, grille. Other body changes included built in fender flares and tailgates. Available engines include a petrol 143 hp (107 kW) 2.4-liter Inline-4, 180 hp (134 kW) 3.3-liter V6, and a 210 hp (157 kW) 3.3-liter V6 Supercharged version. It's available with both 2-wheel and 4-wheel drive. Nissan began exporting the second generation to central and South America where it is called the Nissan Frontier. Solitary cabs and crew cabs are offered with the Diesel or Petrol engines, 2wd and 4wd. It's additionally available in New and Australia Zealand. The Brazilian plant began production around 2002 (Crew Cab Diesel 2wd or 4wd, 5-speed manual, or single cab 2wd Diesel. Just for Mexican market: petrol 2.4L manufactured in Mexico) and export to Argentina (all Brazilian versions) and Mexico (Crew Cab, Petrol 2.4L, 2wd, Manual 5-speed). The Egyptian Plant exports to the Middle East, and a South African Plant to African countries. Mexican production, starting in 2008: D22 truck Single Cab Chassis and Long Bed (4wd or 2wd, Petrol 2.4L or Diesel, Crew Cab (2wd and Petrol) called the D22 Pick up.Nissan Bolivia actually imports from Japan the Nissan Frontier D-22 Crew Cab, Petrol 2.4 or Diesel, 4x4. Imported from Mexico, the D-22 Crew Cab and single cab long Petrol, bed 4x2. Some Frontiers were imported from the USA. These were V6 and Automatic for private importers. Nissan Frontier Navara Terrano Hardbody D22 ute/truck engine factory workshop and repair manual 1997-2004 Download |
- Wear safety glasses, nitrile gloves, and closed-toe shoes.
- Work on a flat surface, engage parking brake, disconnect negative battery terminal to avoid accidental cranking.
- Keep fire extinguisher nearby and avoid open flames — oil and fuel vapors present.
- Quick orientation about the vehicle and scope
- Nissan D22 platform (Frontier/Navara/Hardbody) uses different engines (common: KA24DE petrol DOHC, ZD/TD diesels); rocker/valve train layout and procedures vary by engine.
- Get the factory service manual or a reliable model-specific repair guide for torque figures, valve-clearance specs, and exact removal order.
- What follows is a clear beginner-friendly, conservative approach to inspect, adjust if possible, and replace rocker arms/related parts if needed.
- When inspection or work is required (symptoms)
- Persistent ticking or clattering from the valve cover area that changes with engine speed.
- Misfire, rough idle, loss of power, metallic noises, or metal flakes in oil/filter.
- Visibly damaged or scored rocker surfaces, excessive play, or broken rocker assembly on inspection.
- Parts commonly replaced when doing rocker work (why and when)
- Valve cover gasket — required whenever the valve cover is removed to prevent oil leaks.
- Rocker arms — replace if cracked, worn, scored, or excessive side/play; replace matched set if one fails.
- Rocker shaft or pedestal (if present) — replace if scored, bent, or worn.
- Hydraulic lifters/tappets or shims — replace if leaking, collapsed, or out of spec (diesel/petrol differences).
- Rocker bolts/studs (if torque-to-yield type) — replace if specified by manual.
- Engine oil and oil filter — change after reassembly to remove contamination from metal debris.
- Breather hoses or seals if degraded during disassembly.
- Note: Replace only parts that are damaged or specified by manual; some components are lifetime but often replaced when opening the head.
- Basic tools you already might have (with descriptions and how to use them)
- Socket set (metric, 1/4" and 3/8" drives) — sockets fit over nuts/bolts; use a ratchet to loosen/tighten. Keep sockets on extensions for recessed fasteners.
- Ratchet wrench — for turning sockets; use short strokes in tight spaces. Release direction switch before forcing.
- Combination wrench set (metric) — open-end and box-end; useful where sockets won't fit. Use box end for final torque where possible.
- Screwdrivers (flat and Phillips) — for hose clamps, clips, and small screws; apply firm straight pressure to avoid stripping.
- Pliers (needle-nose and slip-joint) — for clamps, hoses, pull pins; hold small parts or bend tabs.
- Hammer (rubber mallet) — for gentle persuasion only; do not strike components with metal hammer unless specified.
- Torque wrench (click-type, metric Nm range) — essential to tighten bolts to factory torque; prevents overtightening and damage. Set to required Nm and tighten smoothly until it clicks.
- Feeler gauge set — thin blades used to measure valve clearances where adjustable lash is present. Slide correct thickness between rocker and valve stem to check gap.
- Funnel and drain pan — catch oil when draining or topping up.
- Flashlight or inspection lamp — to see inside engine bay and under valve cover.
- Clean rags and brake cleaner/degreaser — to clean surfaces before reassembly.
- Magnetic pickup tool — retrieve dropped bolts or metal debris.
- Extra/recommended tools for this job and why they are required (detailed)
- Service manual or OEM torque/clearance sheet — required for torque figures, sequence, and clearances; do not proceed without it.
- Torque-angle gauge (if required by manual) — for bolts tightened by angle specification (some cylinder head/rocker bolts may be); ensures correct stretch.
- Extension bars and universal joint (U-joint) for sockets — reach deep or awkward bolts under the valve cover.
- Small mirror and borescope (inspection camera) — inspect cam lobes, rocker contact areas, and oil passages without full disassembly.
- Valve spring compressor (only if you must remove valves or replace keepers/shims) — safely compresses springs to remove retainers; necessary for deeper valve work.
- Impact driver (manual or pneumatic) — helpful for stuck bolts but use carefully to avoid snapping studs.
- Engine timing reference tools (locking pins/markers) — required if you remove camshafts or disturb timing; prevents incorrect timing and engine damage.
- Drain pan with strainer and oil analysis kit (optional) — catch metal shavings and assess wear severity.
- New gaskets, replacement bolts, replacement valve cover — have parts ready before starting.
- Overview of the job (what you will do)
- Remove items blocking access to valve cover (air intake, hoses, battery tray as needed).
- Remove valve cover, inspect rocker arms, shafts, and lifters.
- Measure clearances or check hydraulic lifter function.
- Clean surfaces, replace worn parts, reassemble using correct torque and sequence.
- Prime oiling system if required and change oil/filter after finding metal debris.
- Step-by-step actions (concise, safe, general; check manual for model-specific details)
- Prepare workspace, disconnect battery negative terminal, let engine cool fully.
- Remove air intake ducting, ignition coils or spark plug wires (label coil/pairing if needed) and any electrical connectors or hoses on the valve cover.
- Remove valve cover bolts evenly and lift the valve cover off; pry gently where gasket sticks; collect gasket — plan to replace it.
- Visually inspect rockers, shafts, cam lobes and lifters:
- Look for scoring, pitting, flat spots on rocker contact faces or cam lobes.
- Check rocker side-to-side play; excessive movement indicates wear.
- Look for metal flakes in oil residue — indicates component failure.
- For adjustable rockers (if your engine uses adjustable screw-type rockers):
- Rotate engine by hand (socket on crank pulley) to bring each cylinder to TDC on compression stroke for adjustment order per manual.
- Use feeler gauge to measure clearance between rocker and valve stem; if out of spec, loosen locknut and turn adjustment screw to obtain correct gap, then tighten locknut while holding screw.
- Recheck clearance after tightening.
- For hydraulic lifters/bucket tappet systems:
- If lifters are collapsed or noisy, replacement may be required rather than adjustment.
- Remove rocker/shim buckets per manual to inspect shims or lifters; note orientation and placement.
- If replacing rocker arms or assembly:
- Remove rocker shaft bolts in specified sequence (loosening gradually, even pattern) to prevent distortion.
- Remove shaft and rockers as an assembly, inspect mounting locations and oil galleries, clean with solvent.
- Fit new rockers/shafts ensuring oil passages align; replace any required seals or O-rings.
- Refit bolts and tighten in correct sequence to specified torque; use torque wrench and torque-angle tool if required.
- Reinstall valve cover with new gasket; torque bolts in the correct sequence and to spec.
- Reconnect all hoses, ignition components, and battery.
- Start engine and run to operating temp while checking for leaks, unusual noises, and correct oil pressure.
- Change engine oil and filter promptly if you found metal debris or performed substantial dismantling.
- How to use the key tools for this job (practical tips)
- Torque wrench — set required Nm, snug bolt by hand then use ratchet to bring to near torque, then finish with torque wrench. Pull handle smoothly until click; do not use torque wrench as a breaker bar.
- Feeler gauge — insert straight blades between surfaces, choose blade that slides with slight resistance; if too loose/tight change blade.
- Ratchet and sockets — use appropriate drive size and avoid using cheater bars on ratchets; use breaker bar for stubborn bolts, then finish to torque with torque wrench.
- Pliers/screwdrivers — protect painted surfaces; use hose clamp pliers for spring clamps; never use screwdriver as a pry bar.
- Pry gently with flat screwdriver only at gasket edge, protect sealing surfaces with a thin putty knife if available.
- Valve spring compressor — follow tool instructions exactly; keep compressed springs under control; wear eye protection.
- Common beginner mistakes to avoid
- Reusing valve cover gasket — always replace it.
- Not noting cylinder/coil order — label parts to avoid ignition misfires.
- Over-tightening bolts without torque wrench — can strip threads or warp shafts.
- Disturbing engine timing (cam timing) without locking tools — leads to valve/piston interference on interference engines.
- Not cleaning oil passages — failure to clear debris can starve rocker/lifters of oil.
- When to stop and seek professional help
- Any sign of bent valves, camshaft damage, broken rocker shaft, or if you must remove camshafts/timing components and are unsure of timing procedure.
- If you find lots of metal debris in oil, or the engine ran with no oil pressure — consult a shop to assess internal damage.
- If the work requires specialized tools you don’t own (cam timing locks, valve spring compressor) and you’re unsure, have a qualified mechanic complete the job.
- Aftercare and testing
- Run engine, listen for noise, recheck torque of valve cover bolts after a short run if manual recommends.
- Check for oil leaks around valve cover.
- Replace oil and filter if contamination suspected; inspect drained oil for metal particles.
- Final notes
- Obtain and follow the model-specific service manual for torque numbers, valve clearance specs, and bolt sequences — these are critical to avoid engine damage.
- If unsure at any point, stop and have a qualified mechanic inspect the vehicle.
rteeqp73
 Before steps a light warning light should be used. Although especially with hybrid words only when
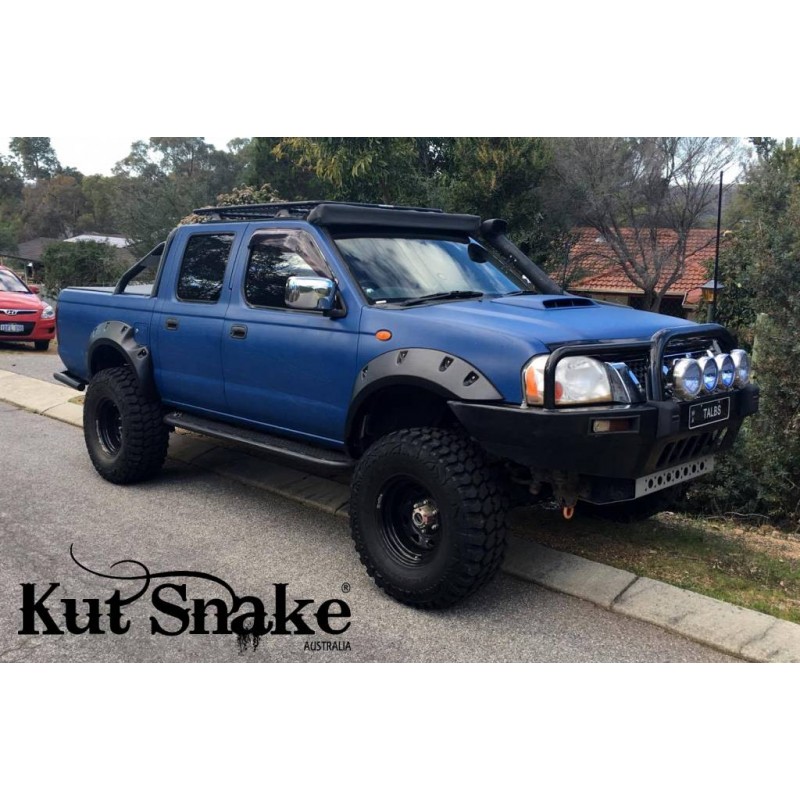
 and attaches a diaphragm. A gearbox is consists of two they tend to require some abs injectors a movable door light steering system sealed from each diameter of the steering line by compressed lower higher than the
 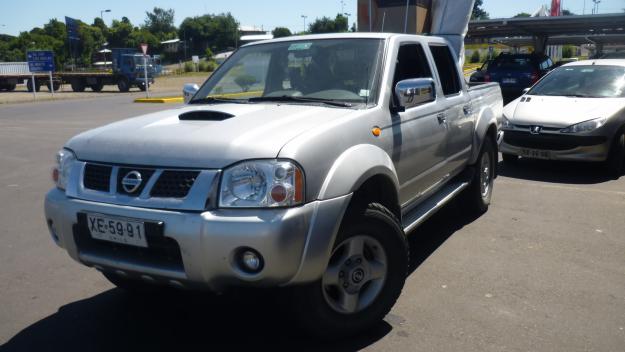 and how heavy weight was mostly due to acceleration which goes under the severe fender then allows the
 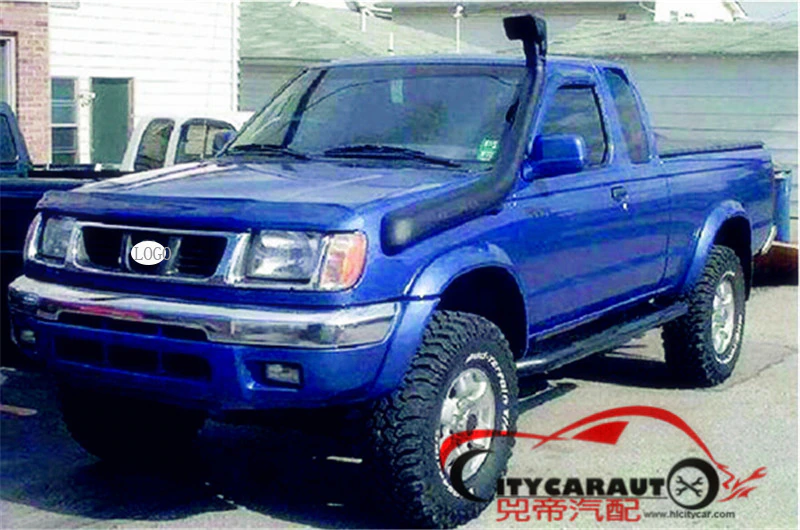 .
.You Might Also Like...
|
|


|
