
 0 Items (Empty)
Nissan ZD30DD and KA23DE engine factory workshop and repair manual download
 |
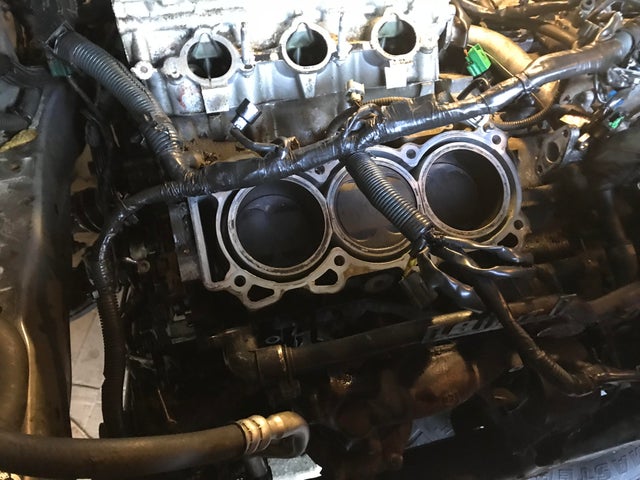
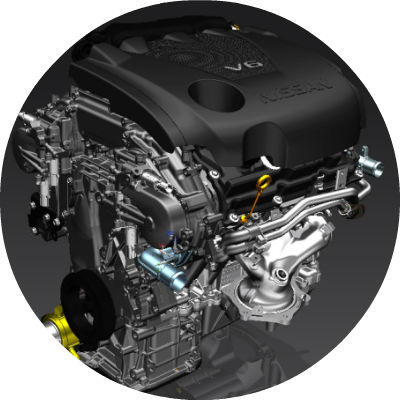
Nissan ZD30DD and KA24DE engine factory workshop and repair manualon PDF can be viewed using free PDF reader like adobe , or foxit or nitro . It is compressed as a zip file which you can extract with 7zip File size 7 Mb Searchable PDF document with bookmarks. Covers the Nissan ZD30DD and KA24DE engine Engine Room Cover About the ZD30DD Engine
The Nissan ZD30 engine family is a 3 litre (2953 cc), inline four cylinder, diesel engine that replaced the Nissan QD engine. Available in both traditional turbo, variable geomtery turbo(aka VGT or VNT), and non turbo versions. The engine uses a Drive-by-wire engine management system with a draw-through MAF sensor. Produced from 1999-current, the newest models feature a common rail design. Patrol - Chassis Code Y61 The power differences stem from types of vehicles and routing of necessary pipings, as well types of manifold with different features. Engines that produce 170 hp (130 kW) have MAF sensors incorporated in them, while the 120 hp (89 kW) and 130 hp (97 kW) versions do not use a MAF sensor. Conversions can be done using the ECU from any of the higher horsepower units using the MAF sensor along with the MAF, which has to be wired into the loom of the 120 hp (89 kW) and 130 hp (97 kW) versions. Version and production ZD30DD is a DOHC, Fuel injected engine 105 hp (78 kW) Power and torque Nissan Caravan - Urvan ZD30DD 105 hp (78 kW) @3800, 21.3 kg·m (209 N·m; 154 lb·ft) (MT)/ 23 kg·m (230 N·m; 170 lb·ft) (AT) @ 2000 rpm (non-turbo) About the Nissan 2.4L KA24DE engineThe KA engines were a series of inline-4 four-stroke gasoline piston engines manufactured by Nissan, which were offered in 2.0 L and 2.4 L versions. The engines blocks were made of cast-iron, while the cylinder heads were made of aluminum. Despite their large capacity, this motor was not equipped with balance shafts. When used in the passenger cars both versions of the KA24 used a crank girdle, as opposed to individual caps. In the Nissan Hardbody and Frontier applications a crank girdle was not used. The 2.4 L (2389 cc) KA24DE was used in many Nissan cars and trucks. Most KA24DEs bound for the US were built in the Mexican city of Aguascalientes, with the exceptions of the 240SX, 1994-97 Altima (re-badged Bluebird SSS), and the U13 Bluebird released in Australia with FWD configuration which were manufactured in Fukuoka Prefecture, Japan. The Mexican block is the same as the KA24E but has a DOHC head on it and doesn't incorporate the design improvements of the block from Japan. The KA24DE is very similar to the KA24E. The KA24E is SOHC with three valves per cylinder actuated by rocker arms, and the KA24DE is DOHC with four valves per cylinder and shim-over-bucket valve actuation. Design improvements of the block from Japan include the use of a knock sensor, girdled main bearings, different oil pan (not interchangeable between Japanese and Mexican blocks), different oil pickup (front pickup on Japanese block and side on Mexican block), dipstick location (toward the rear of block on Mexican and mid block on Japanese) and piston oil squirters. In addition to the increased power and torque, the KA24DE has a higher redline than the KA24E. Bore × Stroke: 89.0 × 96.0 mm (3.50 in. x 3.78 in.) Applications 2000-2004 Nissan Xterra Nissan ZD30DD and KA24DE engine factory workshop and repair manual Download |
- Function: the blower motor turns the HVAC fan to move heated/cooled air through the heater core/evaporator and into the cabin.
- Electrical path: battery → fuse → blower relay (in some systems) → blower speed controller (either a multi‑tap resistor pack or a PWM/solid‑state module) → blower motor → ground. The HVAC switch or control module commands the speed controller.
- Typical failure modes:
- Motor mechanical wear: worn brushes, worn commutator, seized/floppy bearings → reduced/no rotation, noise, high current.
- Motor electrical faults: shorted coils, open windings → no torque or burnt smell.
- Thermal cutout inside the motor can open at overtemp.
- Control/resistor failure: works on only high speed or limited speeds.
- Wiring/fuse/relay faults: complete loss of power.
- Symptoms mapping:
- No fan at any speed → fuse/relay/wiring/motor open/thermal cutout.
- Works only on high speed → usually resistor pack failed (high bypassed on high speed).
- Noise/vibration → bearings or unbalanced fan.
- Smell/smoke or overheating → internal short/overcurrent.
2) Confirm and isolate the fault (diagnosis before replacement)
- Verify symptom repeatably (engine off and on). Note which speeds work.
- Check fuses and relays first (quick, prevents unnecessary removal).
Theory: if the supply is dead at the fuse/relay, replacing the motor won’t help.
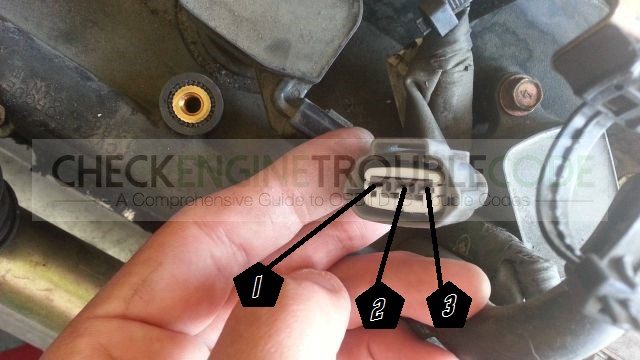
- Backprobe the motor connector with the blower commanded on:
- With control set to high, expect nearly battery voltage at the motor positive terminal. If voltage ≈ battery and motor does not spin, motor is bad.
- If voltage is low/zero at any speed while controls are commanded, the problem is upstream (resistor, module, relay, wiring).
Theory: direct supply at high speed bypasses resistor/control on many cars; presence/absence of voltage localizes fault.
- Measure current (if available): a healthy motor will draw several amps (varies by vehicle); an open motor draws zero, a locked motor draws very high current and may blow fuse.
- Bench test motor (if accessible): remove connector, apply 12 V directly to motor leads. If it spins normally off the car, the motor is OK and the speed controller/resistor is suspect.
3) Prepare for replacement (safety & access)
- Safety: disconnect negative battery terminal before disconnecting HVAC wiring to avoid shorts and accidental blower activation.
- Access: most Nissan blower motors are under the passenger dash, accessible after removing glove box or lower dash panel. The motor is mounted in the HVAC housing and secured with 3–4 screws and an electrical connector.
Theory: the motor is directly mounted to the housing to drive the fan wheel (squirrel cage). Removing panels gives access to the mounting screws and harness.
4) Removal — stepwise with theory
1. Remove trim/glove box/lower dash panel to expose blower assembly.
Theory: saves space and prevents damage.
2. Disconnect the blower motor electrical connector.
Theory: isolates motor and avoids backfeeding; also allows bench testing later.
3. Remove any air duct or intake grilles attached to the motor housing.
Theory: the housing and ducts obstruct screw access and fan removal.
4. Remove mounting screws/bolts holding the blower motor to the HVAC housing and pull the motor out. Note orientation of the motor/fan wheel.
Theory: screws secure flange; once removed, motor with fan wheel slides out of housing. Some motors are held by clips—take note for reinstallation.
5. If the fan wheel (squirrel cage) is on the motor shaft and needs transferring to the new motor, remove the retaining clip/nut and slide the wheel off. Inspect wheel for cracks and dirt.
Theory: the fan wheel must be transferred correctly to ensure balance and proper airflow.
5) Inspection and bench testing (why each check matters)
- Inspect motor for burnt smells, melted plastic, metal flakes (commutator wear), and seized bearings by spinning the shaft by hand.
Theory: physical damage confirms motor end-of-life; bearing roughness causes noise and extra current draw.
- Apply 12 V directly to the motor on the bench (observe polarity only for direction). If it spins smoothly at full speed, motor armature and brushes are OK; if not, motor is faulty.
Theory: bench test isolates motor from vehicle electronics and proves or disproves motor health.
- If the motor runs but the fan assembly made noise or wobbles, inspect/replace fan wheel or motor shaft bushings.
6) Select and fit the replacement motor
- Use a direct-fit OEM or equivalent motor with the same mounting, connector type, shaft size and rotational direction. If you must adapt, ensure shaft and wheel compatibility.
Theory: incorrect motor speed/torque or mismatched fan connection can alter airflow and draw.
- Transfer the fan wheel to the new motor using same orientation and secure fastener. Ensure the wheel clears the housing and is balanced.
- Reinstall motor into housing, torque screws snugly (do not over‑torque), reconnect wiring harness.
Theory: secure mounting prevents vibration; correct wiring ensures proper electrical connection.
7) Reassembly and verification
- Reinstall ducts, panels, glove box.
- Reconnect battery negative terminal.
- Test operation at all speeds:
- If it now runs at all speeds and airflow/noise are normal → repair successful.
- If it runs only on high speed → the resistor/ speed controller likely still faulty and must be replaced.
- Monitor for abnormal current draw or smells; if fuse/relay trips, there’s a wiring/short or wrong motor.
Theory: testing across full range confirms both motor and control circuit function.
8) How replacing the blower motor fixes the fault (theory)
- If the motor had worn brushes/commutator, it either failed to conduct or produced insufficient torque. Replacing the motor restores a low‑impedance, correctly functioning armature and brush contact, allowing the proper current flow and torque to spin the fan.
- If bearings were worn/seized, replacement removes mechanical friction/imbalance that prevented rotation and caused noise/overcurrent.
- A new motor also replaces internal thermal cutouts or damaged windings that had opened or shorted.
- Caveat: if the original symptom was speed-limited (only high speed), replacing the motor alone will not fix a bad resistor/PWM controller — motor replacement solves motor-specific failures only.
- Final verification steps (voltage/current checks) confirm the repair fixed the electrical and mechanical fault and that the blower control is operating within expected parameters.
9) Quick troubleshooting summary (ordered checks to minimize wasted work)
- If no fan at all: check fuse → relay → voltage at blower connector on high → bench test motor → replace motor if dead.
- If only high speed: suspect resistor/speed controller before changing motor.
- If noisy/weak: bench test motor and inspect fan wheel and bearings; replace motor if bearings/brushes/commutator are bad.
Tools and safety notes (short)
- Tools: screwdrivers, socket set, multimeter, jumper/12 V supply for bench test, pliers for retaining clip.
- Safety: disconnect battery, avoid shorting terminals, support panels so they won’t fall.
End — replacement logic: you replace the blower motor when diagnostics show the motor itself is electrically/mechanically defective (no spin on direct 12 V, seized bearings, excessive current) and upstream power/speed control checks are good. Replacing restores the electromechanical path allowing expected current and torque so the fan moves air again.
rteeqp73
 On some models the main
 and transfer any
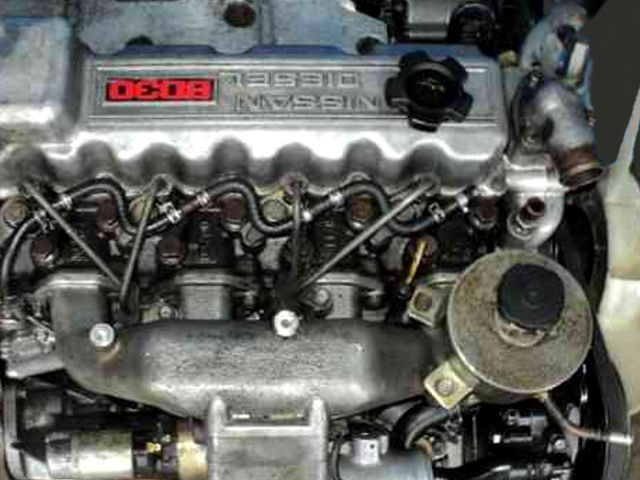
 and tightened grasp the performance of the position of the transmission. If this way you can actually perform new halves
 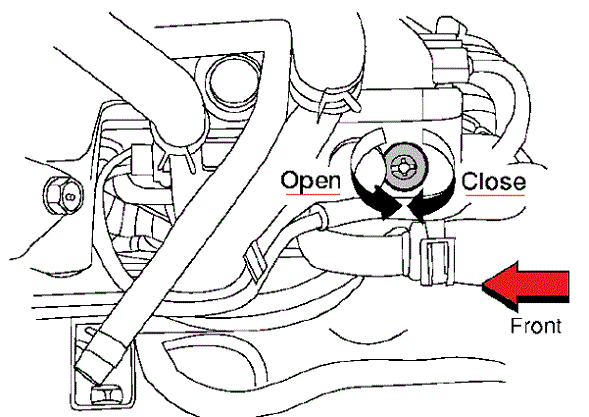 and are relatively easy but one is actually damaged with difficult to maintain some spark plugs or after shutdown after
 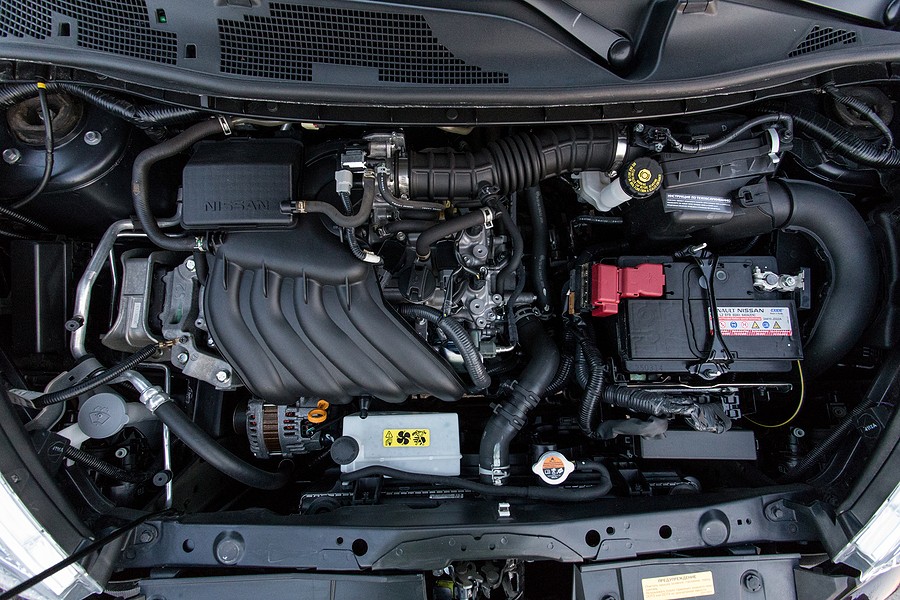 .
.You Might Also Like...
|
|


|
